Compress, Resize & Lazy Load Images – WPvivid Image Optimization WordPress Plugin: A Complete Guide
Introduction
The WPvivid Image Optimization WordPress plugin is a powerful tool designed to enhance website performance by compressing, resizing, and implementing lazy loading for images. Image optimization is a critical aspect of improving website speed, SEO rankings, and overall user experience.
This guide will cover the features, installation, customization options, and best practices for using the WPvivid Image Optimization plugin effectively.

Key Features
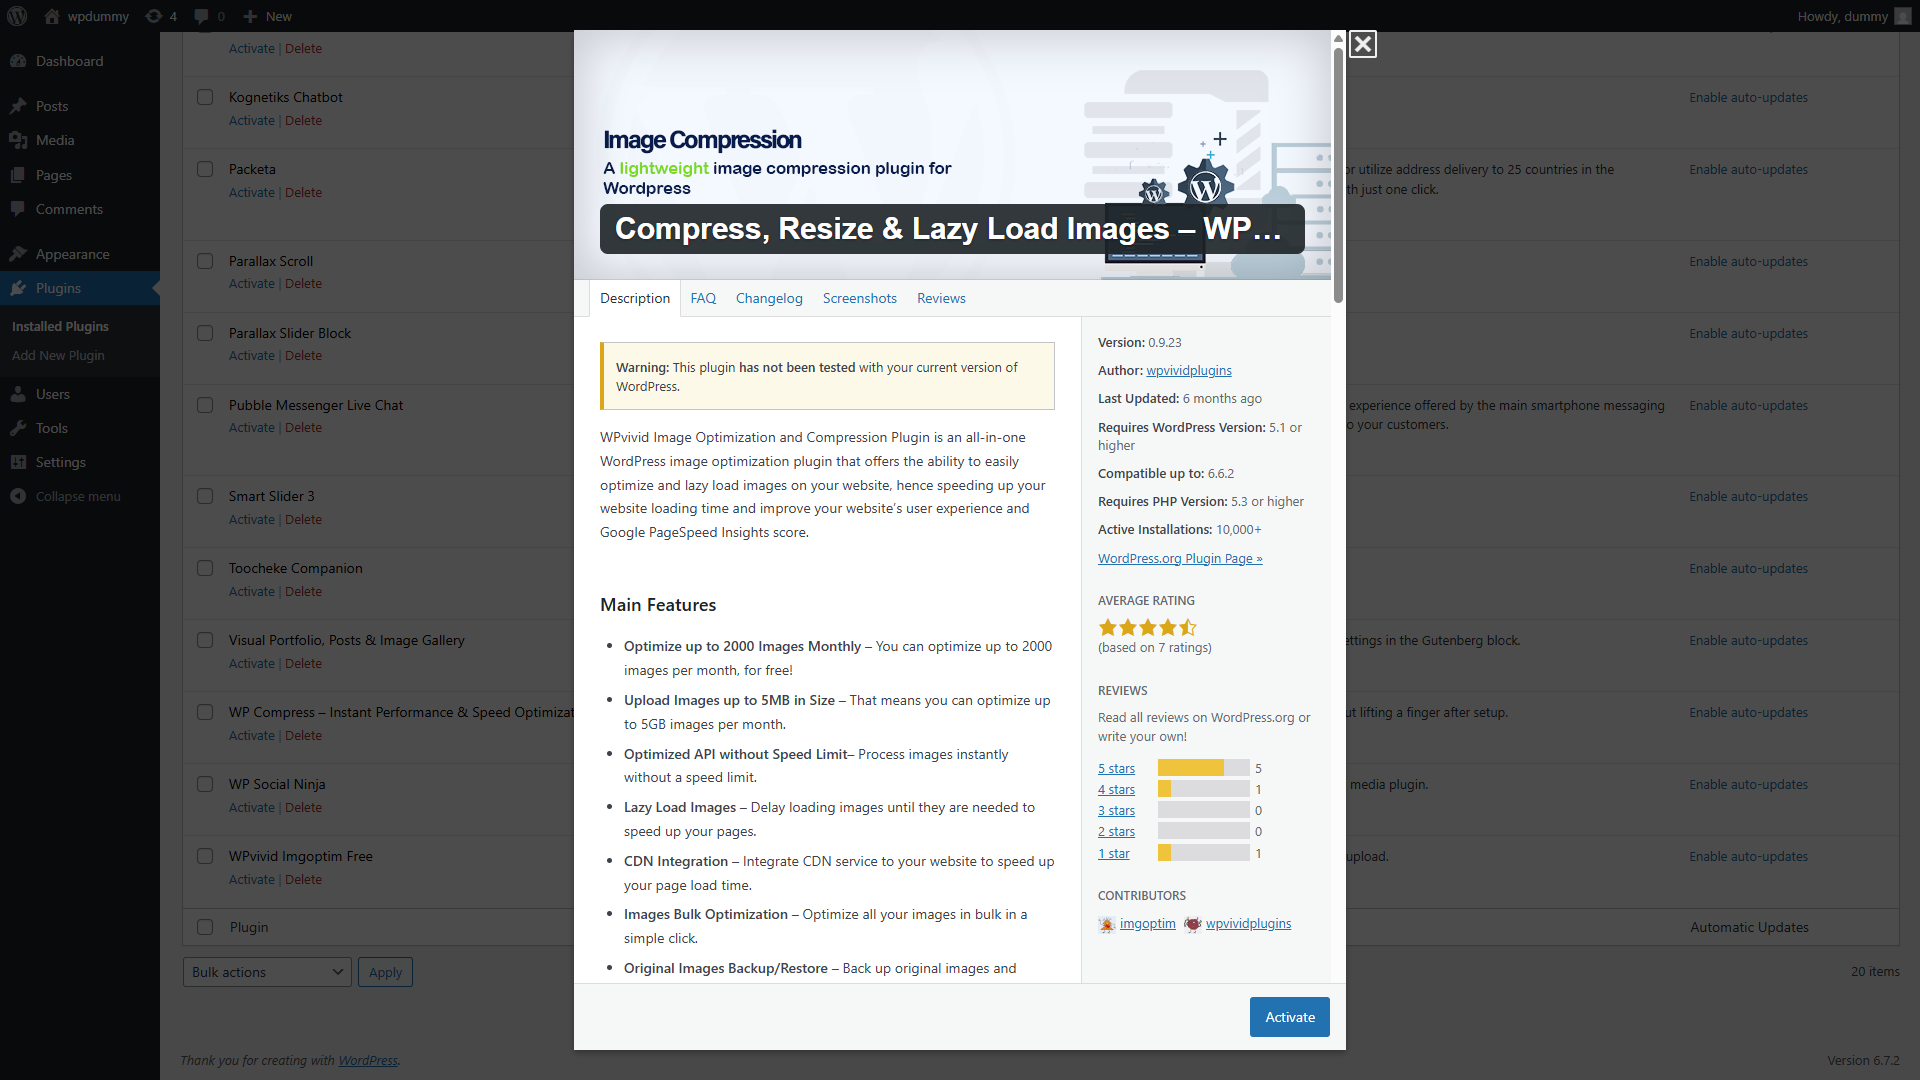
The WPvivid Image Optimization plugin offers a variety of features to streamline image handling and improve page speed:
- Lossless and Lossy Image Compression – Reduces image file sizes without noticeable quality loss.
- Bulk Image Optimization – Optimizes multiple images simultaneously for efficiency.
- Automatic Image Resizing – Resizes images to predefined dimensions to prevent oversized files.
- Lazy Loading – Delays image loading until they are visible on the screen, improving page speed.
- WebP Conversion – Converts images to WebP format for enhanced compression and faster loading times.
- Backup and Restore – Backs up original images before compression, allowing for easy restoration.
- Selective Optimization – Choose which images to optimize instead of bulk processing all files.
- WooCommerce Compatibility – Optimizes product images for eCommerce stores.
- CDN Integration – Works with content delivery networks (CDNs) to serve images efficiently.
- Image Optimization Reports – Provides insights into how much space has been saved.
Installation Guide
Setting up the WPvivid Image Optimization plugin is quick and straightforward.
Step 1: Install the Plugin
- Log in to your WordPress dashboard.
- Navigate to Plugins > Add New.
- Search for WPvivid Image Optimization.
- Click Install Now, then click Activate after installation.
Step 2: Configure Basic Settings
- Go to Settings > WPvivid Image Optimization.
- Choose your compression mode (Lossless or Lossy).
- Enable automatic resizing for newly uploaded images.
- Activate lazy loading to defer offscreen images.
- Save changes and start optimizing your images.
Customization Options
The WPvivid Image Optimization plugin provides extensive customization options to fine-tune image performance.
Compression Modes
- Lossless Compression – Retains image quality while reducing file size.
- Lossy Compression – Achieves greater file size reduction with minimal quality loss.
Resizing Settings
- Automatic Resizing – Sets maximum width/height for uploaded images.
- Manual Resizing – Adjusts specific image sizes before optimization.
Lazy Loading Options
- Enable for All Images – Applies lazy loading to all images.
- Enable for Select Images – Choose specific images to apply lazy loading.
- Exclude Above-the-Fold Images – Ensures faster rendering of important visuals.
WebP Conversion
- Enable WebP Format – Converts images to WebP for improved loading speeds.
- Fallback to Original Format – Ensures compatibility for unsupported browsers.
Backup and Restore
- Backup Original Images – Keeps a copy before optimization.
- Restore Anytime – Reverts optimized images to their original versions if needed.
Use Cases
The WPvivid Image Optimization plugin is beneficial for various types of websites:
1. Blogs & News Websites
Optimized images enhance reading experience and improve SEO rankings.
2. eCommerce Stores
Reduces WooCommerce product image file sizes, speeding up shopping experiences.
3. Portfolio & Photography Websites
Ensures high-quality images load quickly without sacrificing visual appeal.
4. Business Websites
Improves site speed for better user experience and higher conversion rates.
5. Membership & LMS Websites
Enhances page load speeds for courses and member-exclusive content.
Best Practices for Image Optimization
To maximize the effectiveness of WPvivid Image Optimization, follow these best practices:
1. Use the Right Compression Mode
- Lossless Compression for high-detail images.
- Lossy Compression for faster-loading web pages.
2. Enable Lazy Loading
Reduces initial load times by delaying the loading of offscreen images.
3. Resize Images Before Uploading
Prevents oversized images from slowing down your site.
4. Convert Images to WebP Format
WebP provides better compression rates than JPEG or PNG, enhancing performance.
5. Backup Images Before Optimization
Ensures you can restore original images if necessary.
6. Test Image Quality After Optimization
Verify that images maintain acceptable quality after compression.
Troubleshooting Common Issues
Despite being user-friendly, some users may encounter issues. Here’s how to resolve them:
1. Images Not Displaying Correctly
- Disable lazy loading temporarily.
- Check if WebP conversion is causing compatibility issues.
2. Image Quality Loss
- Use Lossless Compression instead of Lossy.
- Increase image quality settings in plugin options.
3. Website Still Slow After Optimization
- Clear your WordPress cache.
- Enable CDN integration to distribute images globally.
4. Backup and Restore Not Working
- Ensure the backup folder has correct permissions.
- Reinstall the plugin if backup fails.
Comparison with Other Image Optimization Plugins
There are several image optimization plugins available, such as Smush, Imagify, and ShortPixel. Here’s how WPvivid Image Optimization compares:
| Feature | WPvivid Image Optimization | Smush | Imagify | ShortPixel |
|---|---|---|---|---|
| Lossless Compression | ✅ | ✅ | ✅ | ✅ |
| Lossy Compression | ✅ | ✅ | ✅ | ✅ |
| Lazy Loading | ✅ | ✅ | ❌ | ✅ |
| WebP Conversion | ✅ | ✅ | ✅ | ✅ |
| Bulk Optimization | ✅ | ✅ | ✅ | ✅ |
| Backup & Restore | ✅ | ❌ | ✅ | ✅ |
| WooCommerce Support | ✅ | ✅ | ✅ | ✅ |
| Free Version Available | ✅ | ✅ | ✅ | ✅ |
Conclusion
The WPvivid Image Optimization plugin is an essential tool for improving website speed and user experience by compressing, resizing, and lazy loading images. With features like WebP conversion, bulk optimization, and backup/restore functionality, this plugin ensures your website remains fast and efficient.
By following the setup, customization, and best practices outlined in this guide, you can effectively integrate WPvivid Image Optimization into your WordPress website. Whether you run a blog, eCommerce store, or portfolio site, this plugin provides a comprehensive solution for image optimization.
If you’re looking for a reliable and feature-rich image optimization plugin, WPvivid Image Optimization is an excellent choice.


